JupyterLite:在浏览器中运行 Python
JupyterLite 是一个轻量级的 Jupyter 笔记本环境,旨在为用户提供快速、便捷的交互式计算体验。与传统的 Jupyter 环境不同,JupyterLite 可以在不需要安装任何软件的情况下直接在浏览器中运行。
有时我们希望快速测试一些简单的代码(例如得到 ChatGPT 给出的代码后),就可以用 JupyterLite 在浏览器中快速运行代码。
本文记录了如何部署 JupyterLite 站点,以及参与开源项目贡献的心得。
部署到 GitHub Pages
按照官方文档即可快速部署到 GitHub Pages,也可以参考这个视频。
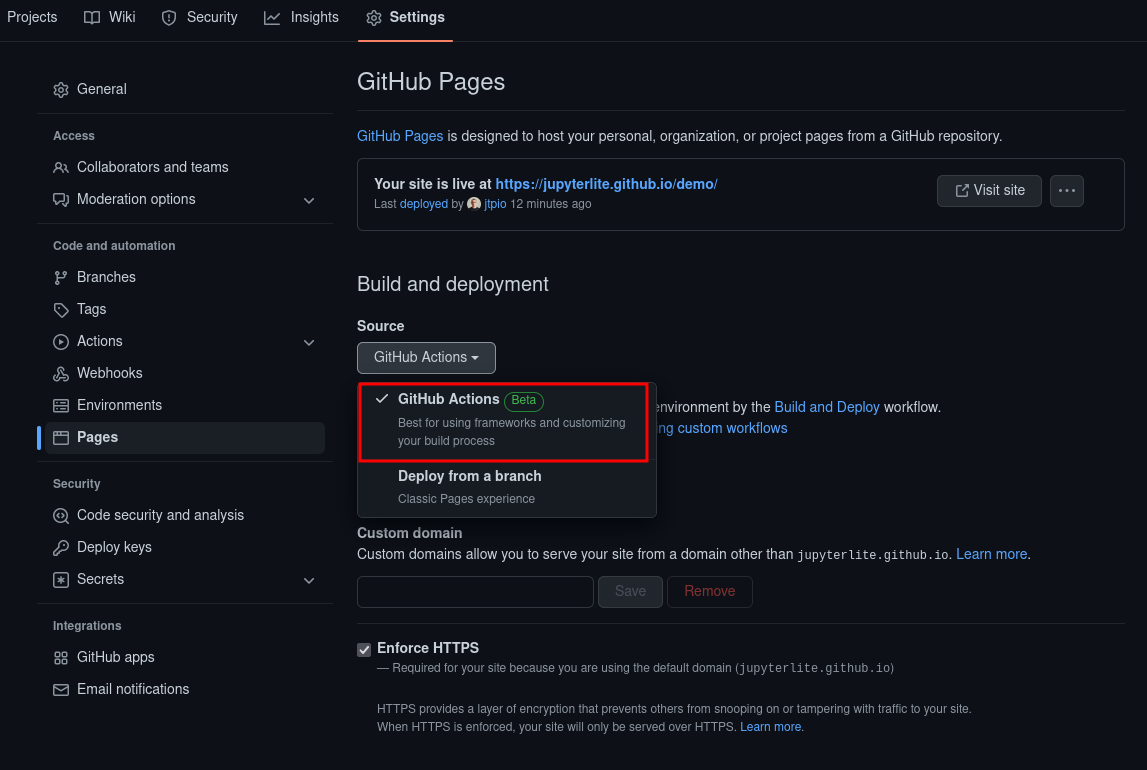
官方文档中的这两个步骤需要快速完成修改,否则等部署失败后再完成修改就会比较麻烦
If the deployment failed, go to “Settings - Actions - General”, in the “Workflow permissions” section, check “Read and write permissions”. Check that you have Github Pages enabled for your repository: from your repository Settings tab, select the Pages menu item and ensure that the source is set to
GitHub Actions:
部署到 Vercel
按照官方文档:
-
新建
requirements-deploy.txt并填入需要的包,例如: -
新建
deploy.sh并填入:Bash#!/bin/bash yum install wget wget -qO- https://micromamba.snakepit.net/api/micromamba/linux-64/latest | tar -xvj bin/micromamba ./bin/micromamba shell init -s bash -p ~/micromamba source ~/.bashrc # activate the environment and install a new version of Python micromamba activate micromamba install python=3.9 -c conda-forge -y # (1)! # install the dependencies python -m pip install -r requirements-deploy.txt # build the JupyterLite site jupyter lite --version jupyter lite build --contents content --output-dir dist # (2)!- 指定 Python 版本。
- 打开首页即能访问
content文件夹,在content文件夹中可以放置代码文件作为模板。
-
最后填写
BUILD COMMAND时注意是: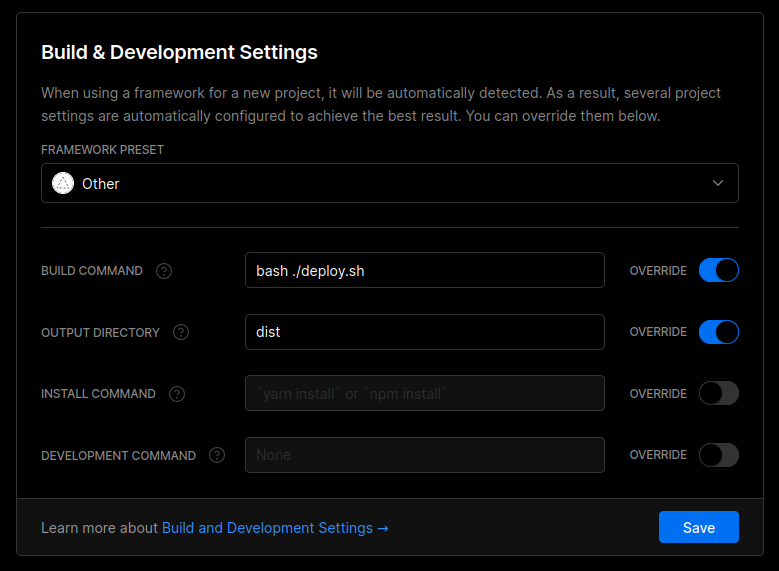
JupyterLite 0.2.2 版本对应的 stable 版文档中,主页不会包含 content 文件夹
详见 GitHub Issue。
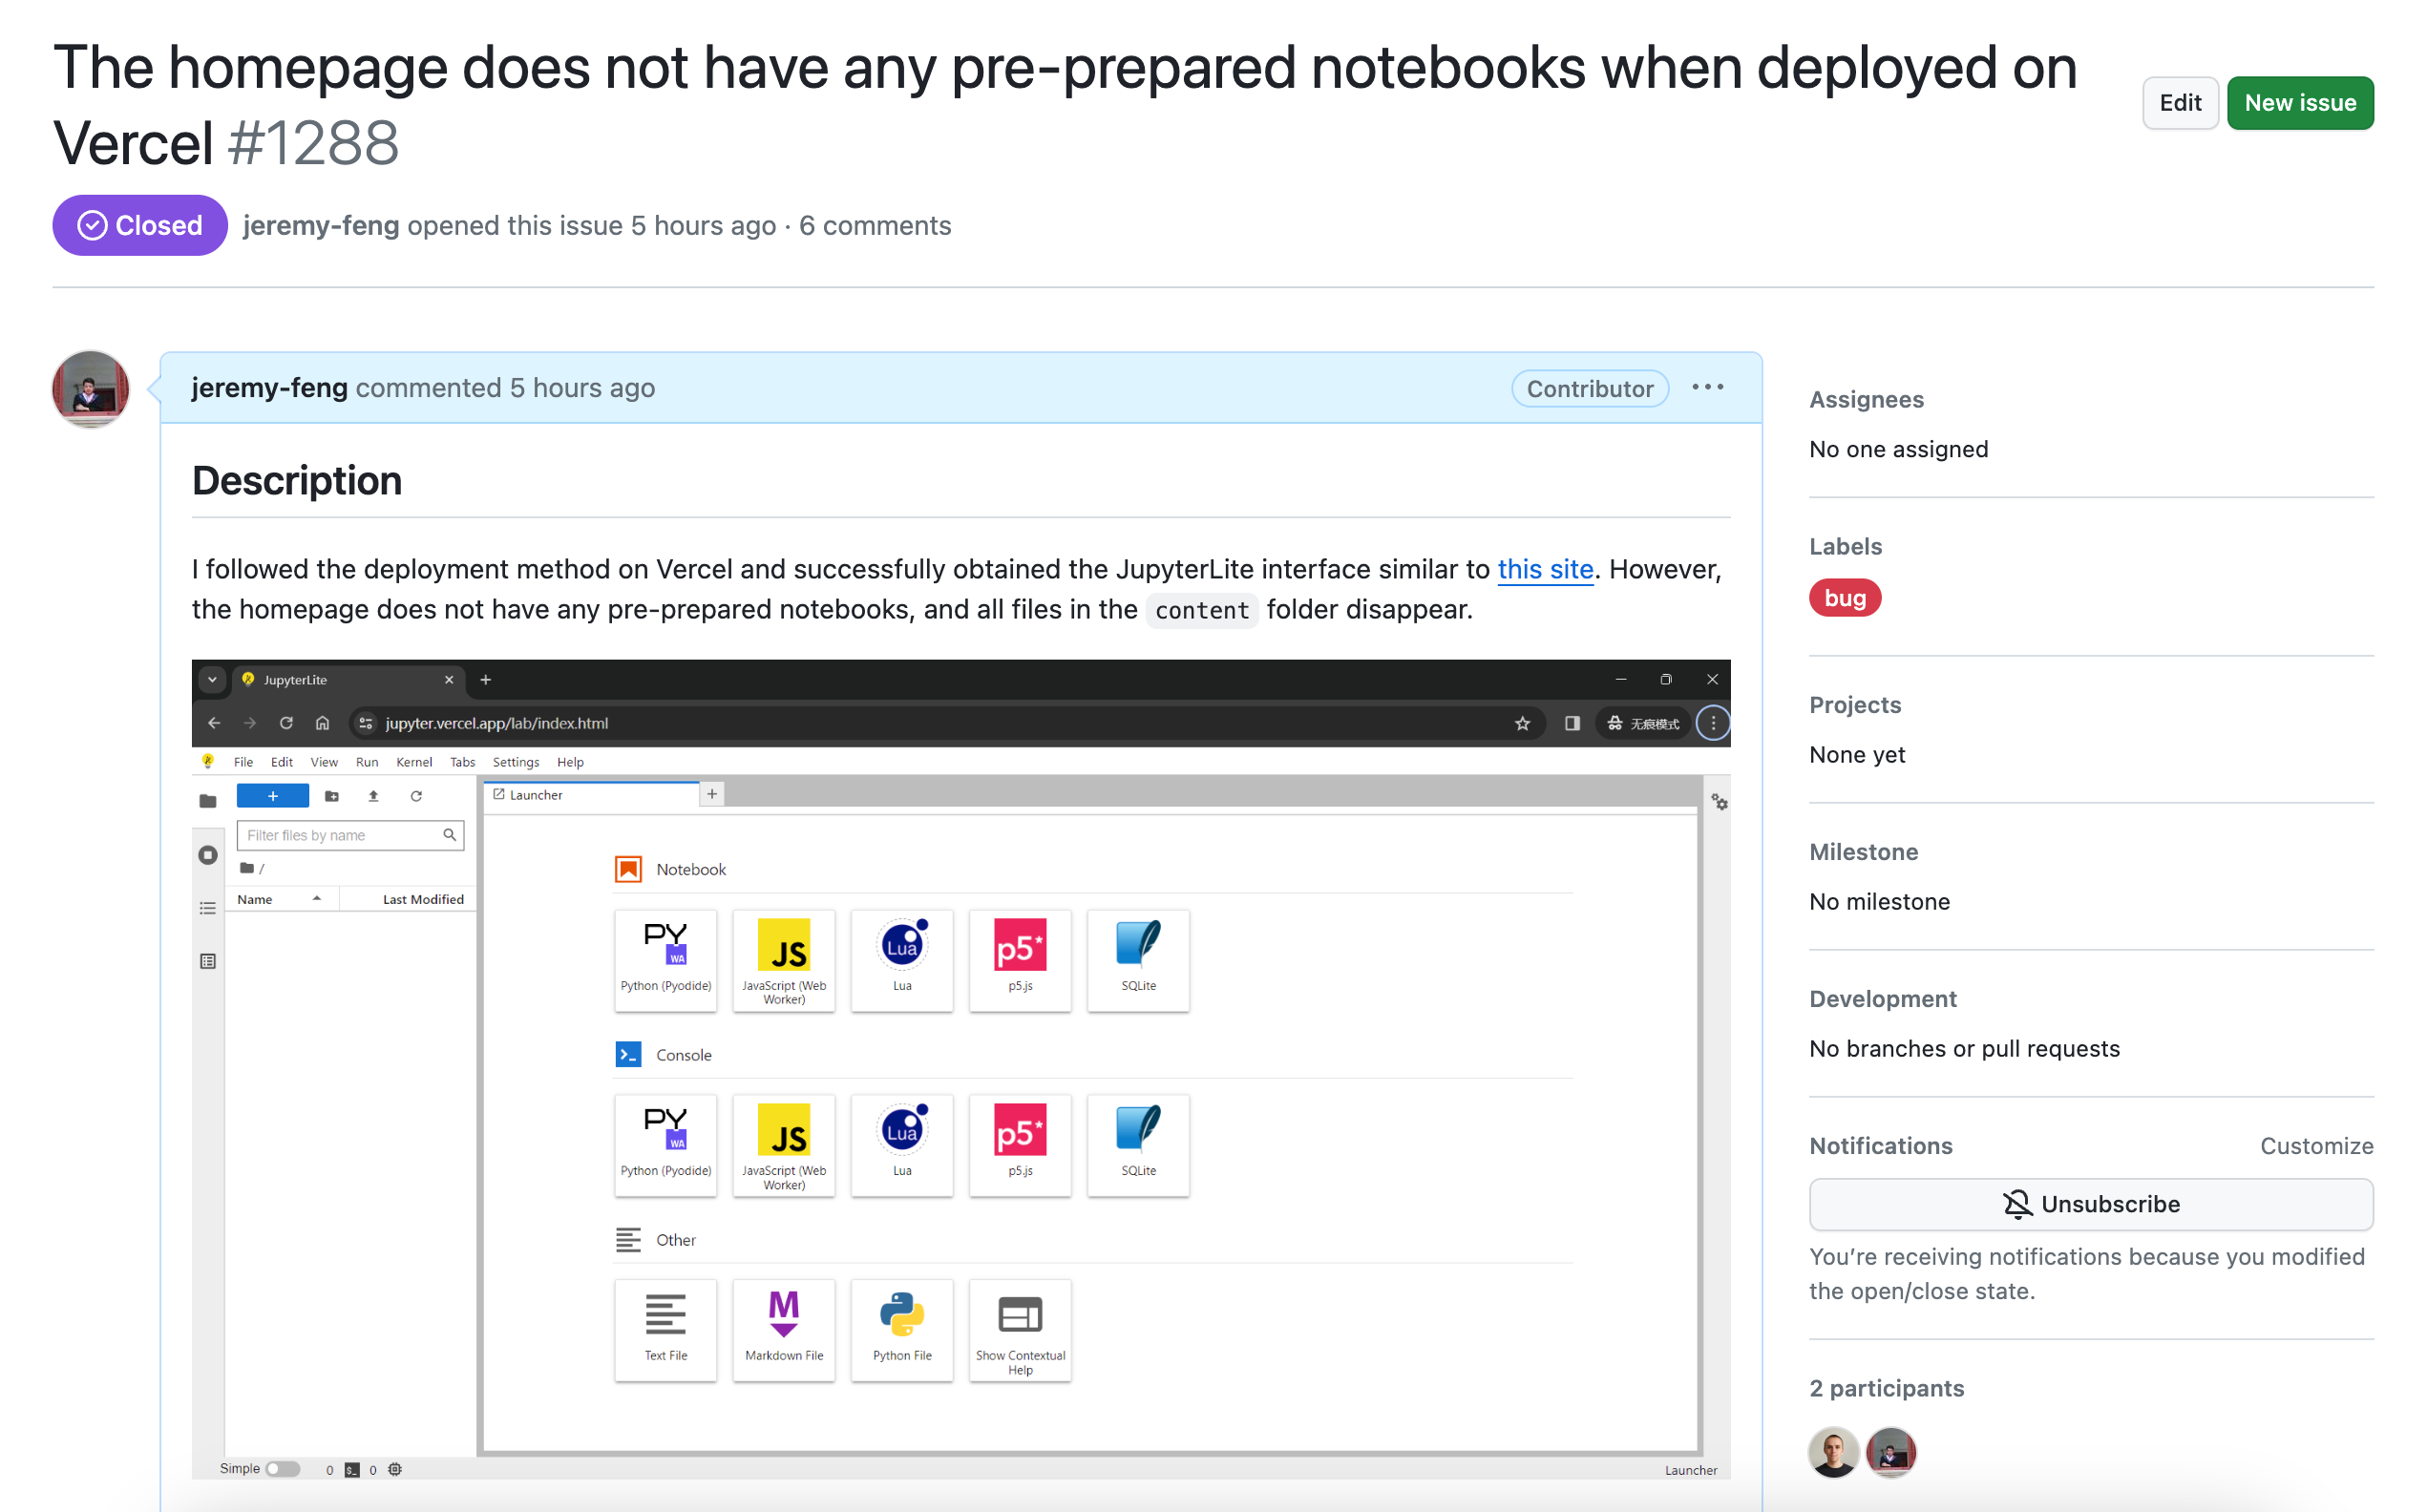
我提出了这个 Issue,并优化了相关文档,已合并 PR。
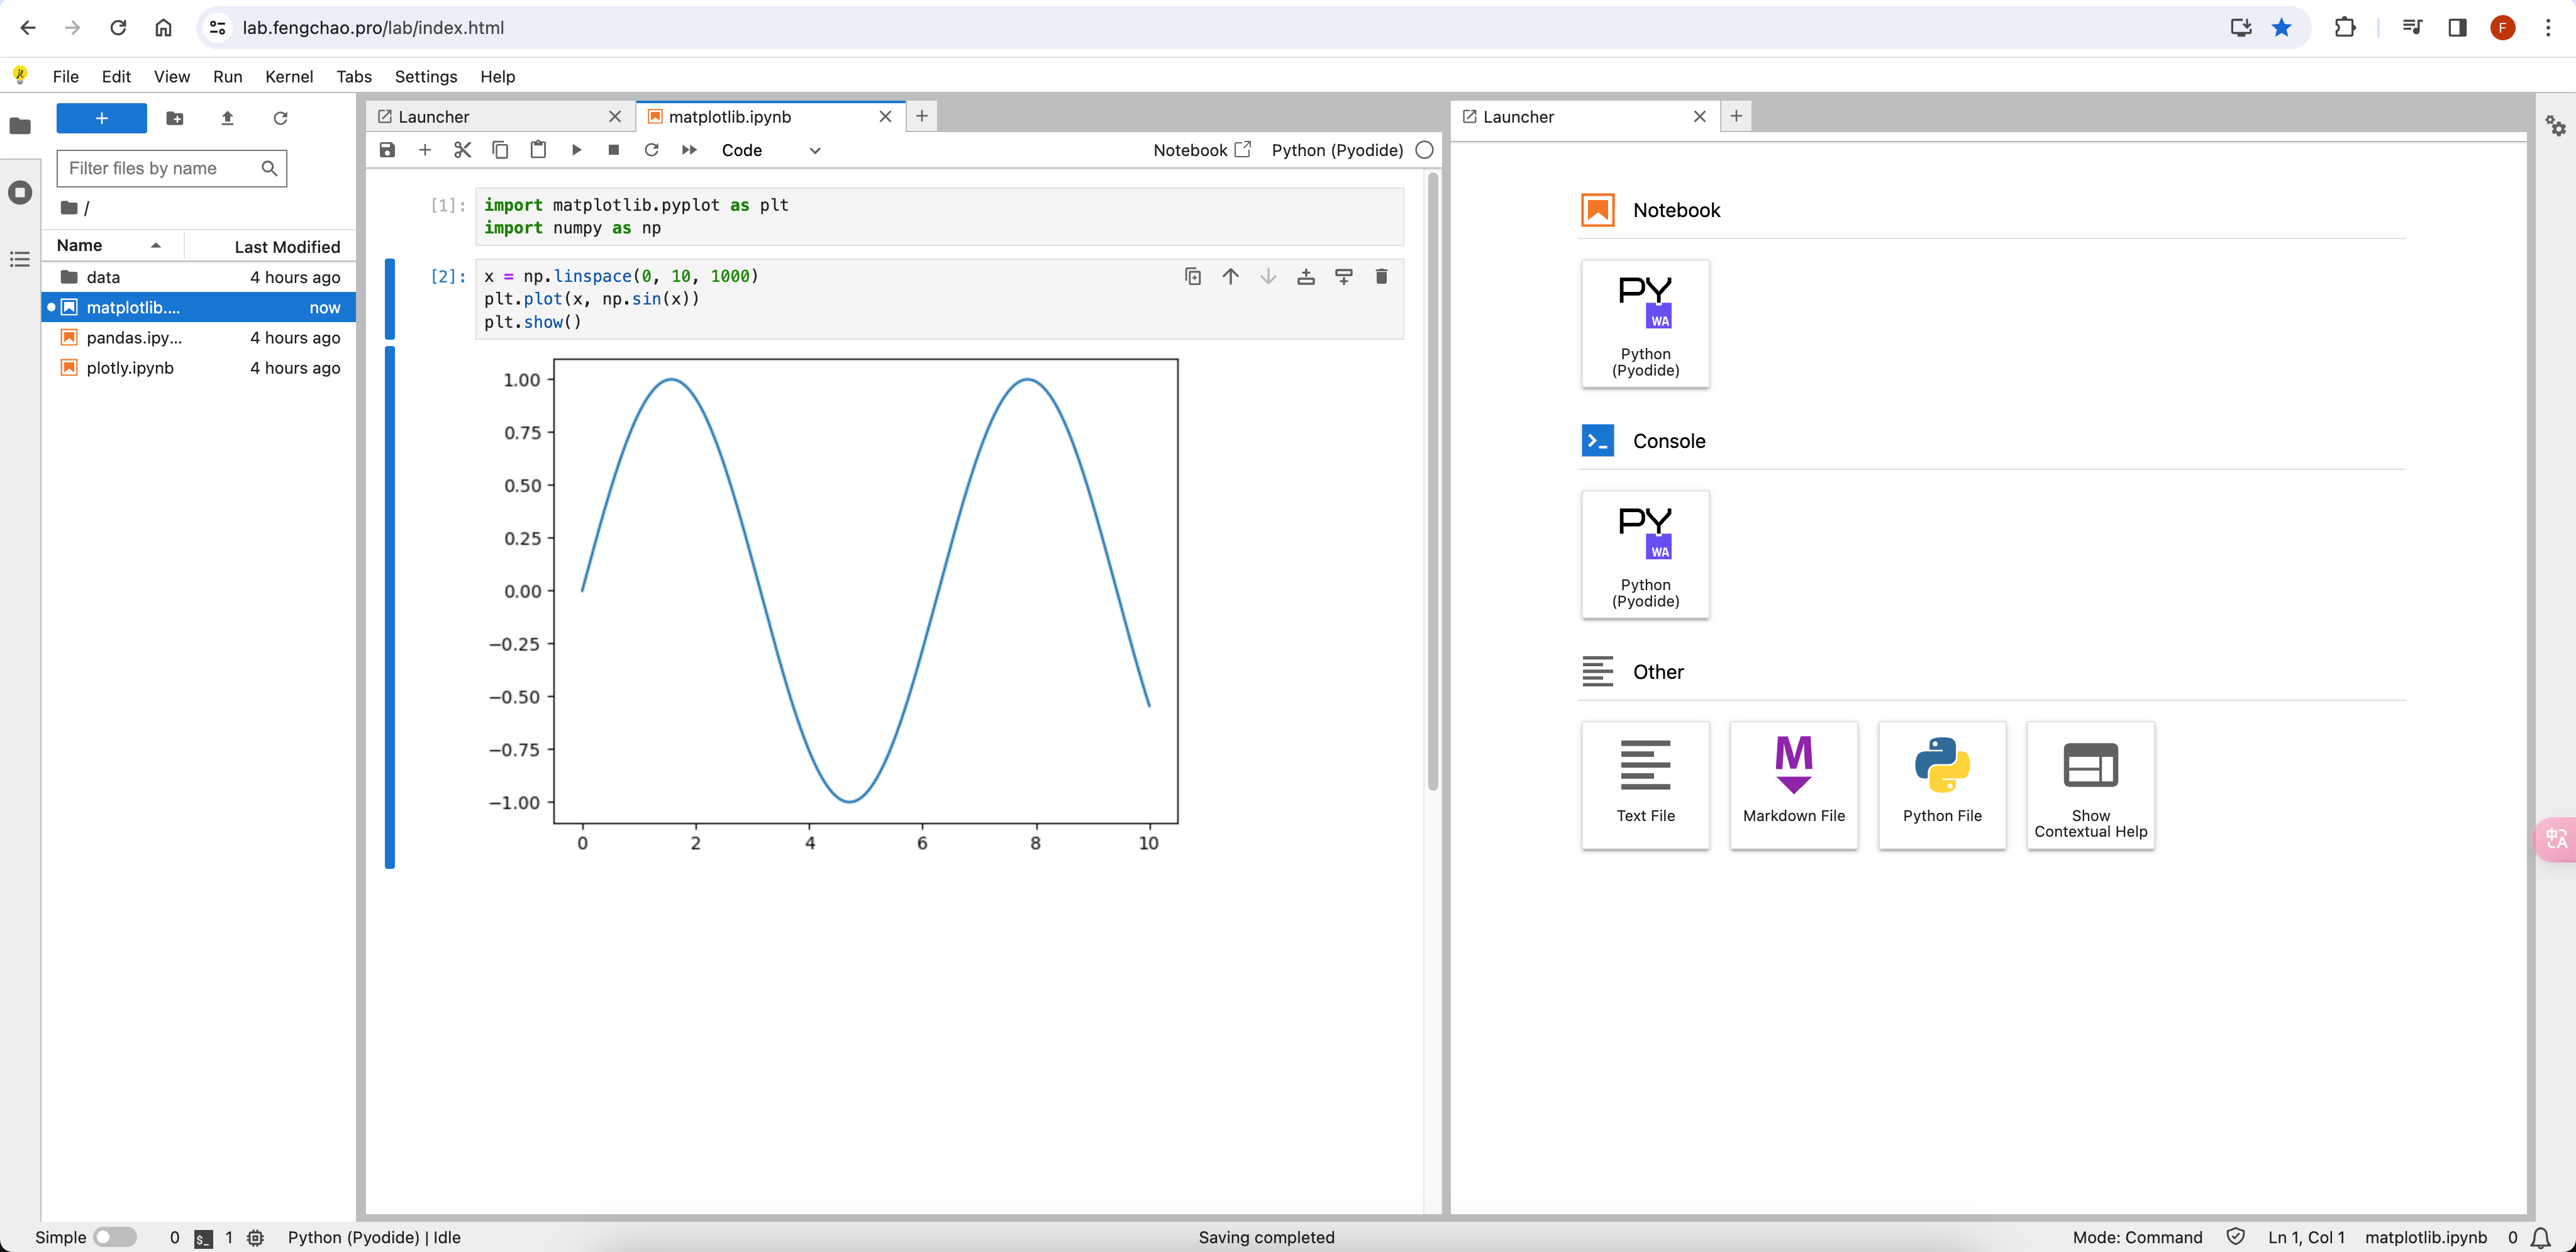
部署后的 JupyterLite 站点
在 Vercel 中配置域名后,可访问:https://lab.fengchao.pro/
REPL
REPL 是“Read-Eval-Print Loop”的缩写,意为“读取 - 求值 - 打印循环”。
什么是 REPL
REPL 是一种交互式编程环境,常用于解释型编程语言中,如 Python、Ruby 和 JavaScript 等。REPL 提供了一个命令行界面,允许用户输入代码片段并立即执行,然后将结果输出到屏幕上。
- 读取(Read):用户在 REPL 中输入代码片段,REPL 会将其读取并解析为语法树或表达式。
- 求值(Eval):REPL 会对解析的代码进行求值,执行相应的操作或计算。
- 打印(Print):REPL 将求值结果输出到屏幕上,供用户查看。
- 循环(Loop):一次交互完成后,REPL 会等待用户输入下一个代码片段,然后继续读取、求值和打印,形成一个循环。
REPL 的优点在于它提供了实时反馈和快速迭代的开发体验。开发者可以逐行编写和测试代码,立即看到结果,这有助于调试和理解程序行为。REPL 也常用于教学和学习编程,因为它能够提供即时的反馈和实验环境,帮助初学者更好地理解编程语言和概念。
JupyterLite 也提供了 REPL。参考:Embed a live REPL on a website
<iframe
  src="https://jupyterlite.github.io/demo/repl/index.html?kernel=python&code=print('Hello, world!')"
  width="100%"
  height="600px"
></iframe>
也可以换成自己部署的站点,例如 src="https://lab.fengchao.pro/repl/index.html?kernel=python&code=print('Hello, world!')"
参与开源项目贡献的心得
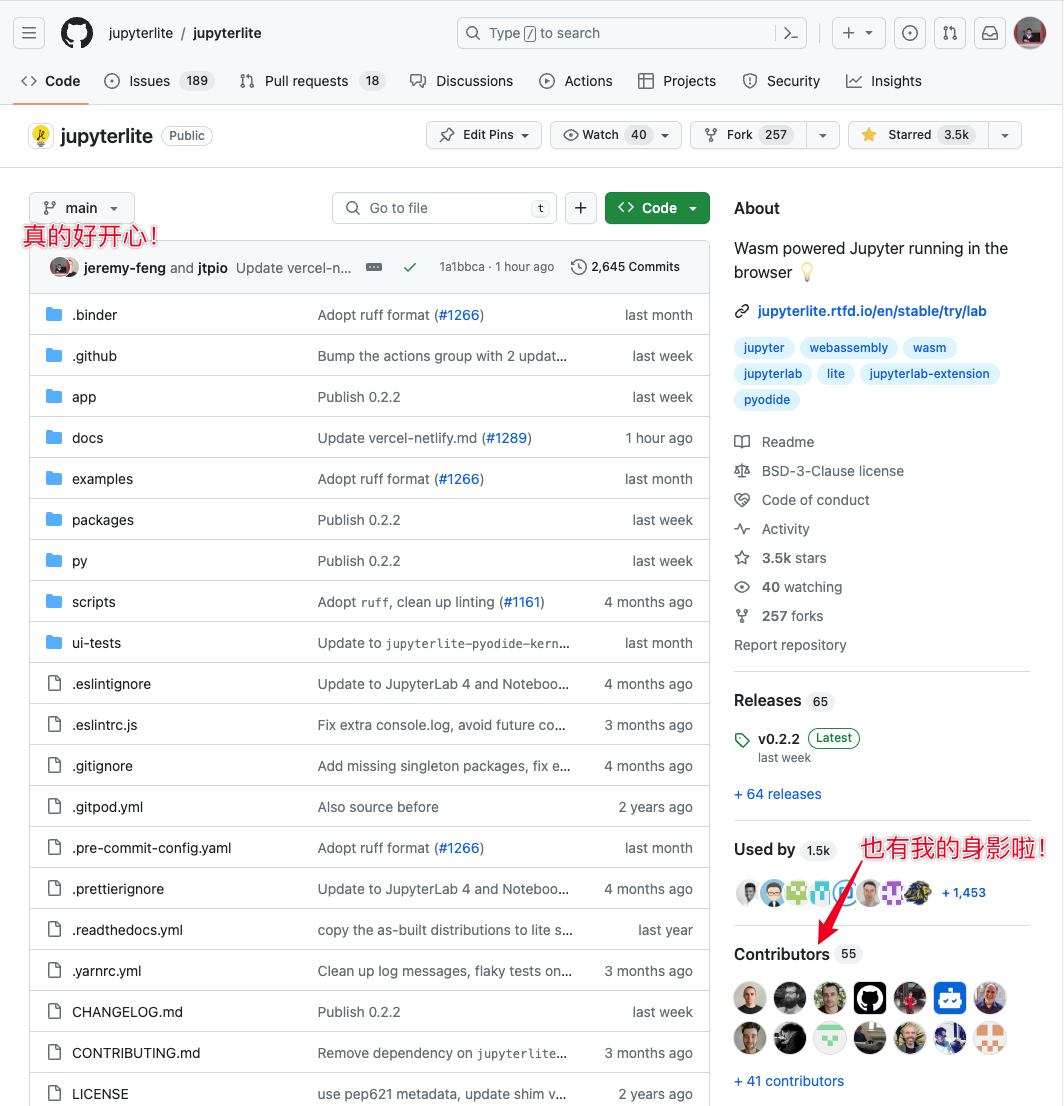
我十分佩服程序员的开源精神,这个世界上有许许多多方便易用的工具,极大地提高了人们的生产效率,而这一切因为开源变得免费易得。
下午提的一个 GitHub Issue,一小时后就得到了原作者的回复,很快解决了我的问题。我很开心能和技术大牛进行对话,自然也是很开心能有机会参与开源项目中,帮助它变得更好。虽然我只是改动了几行代码,但我还是超级兴奋。